For gear inspection TQM Itaca Technology has developed a solution composed of a motorized gear inspection system (which can be configured according to the type of gears to be controlled), electronic interface iDaq4Geo and the software Itagear 6 for the analysis of the double side meshing gear with a Master. The whole package Hardware-Software can be implemented on already existing gear inspection systems.
Itagear 6 allows the acquisition, storing and analysis of a profile concerning the couple of two gears. Data acquired are then processed to calculate the typical features gotten from a gear inspection gauge: rotation control of the gear inspection system is provided by an encoder device installed on its axis. Itagear 6 can be used on all types of gears. The measured value is both displayed as polar profile and linear graph with possible zooming. If necessary, it’s possible to save the graph of each test.
The results are stored into Itastat 6 database available for proper statistical analysis.
With Itagear it’s possible to calculate the following features:
Rotation control Fi" Also called Radial Composite Error. When measuring a gear compared to a master gear, the measurement is done considering the complete rotation of the gear. When a couple of gears is controlled, the measurement is done considering the complete rotation of the gear with the greatest number of teeth.
Tooth step control fi" Also called Radial Tooth to Tooth Composite Error. It’s the difference max-min of the data read on the rotation angle equal to 360°/z where z corresponds to the number of teeth of the gear to control.
Eccentricity control Fr" Also called Radial Runout. It’s calculated as the max variation of the distance between gear axes using frequency analysis to eliminate nick or vibration effects.
Diameter/Center distance Control (min, max and average) It’s an absolute measure and a master gear with known average diameter/center distance is required. Zero adjustment of Itagear is dynamic on the average value.
Itagear 6 can manage automatic test cycles, the dialogue with the production lines and the dialogue with the automatic load/unload machines.
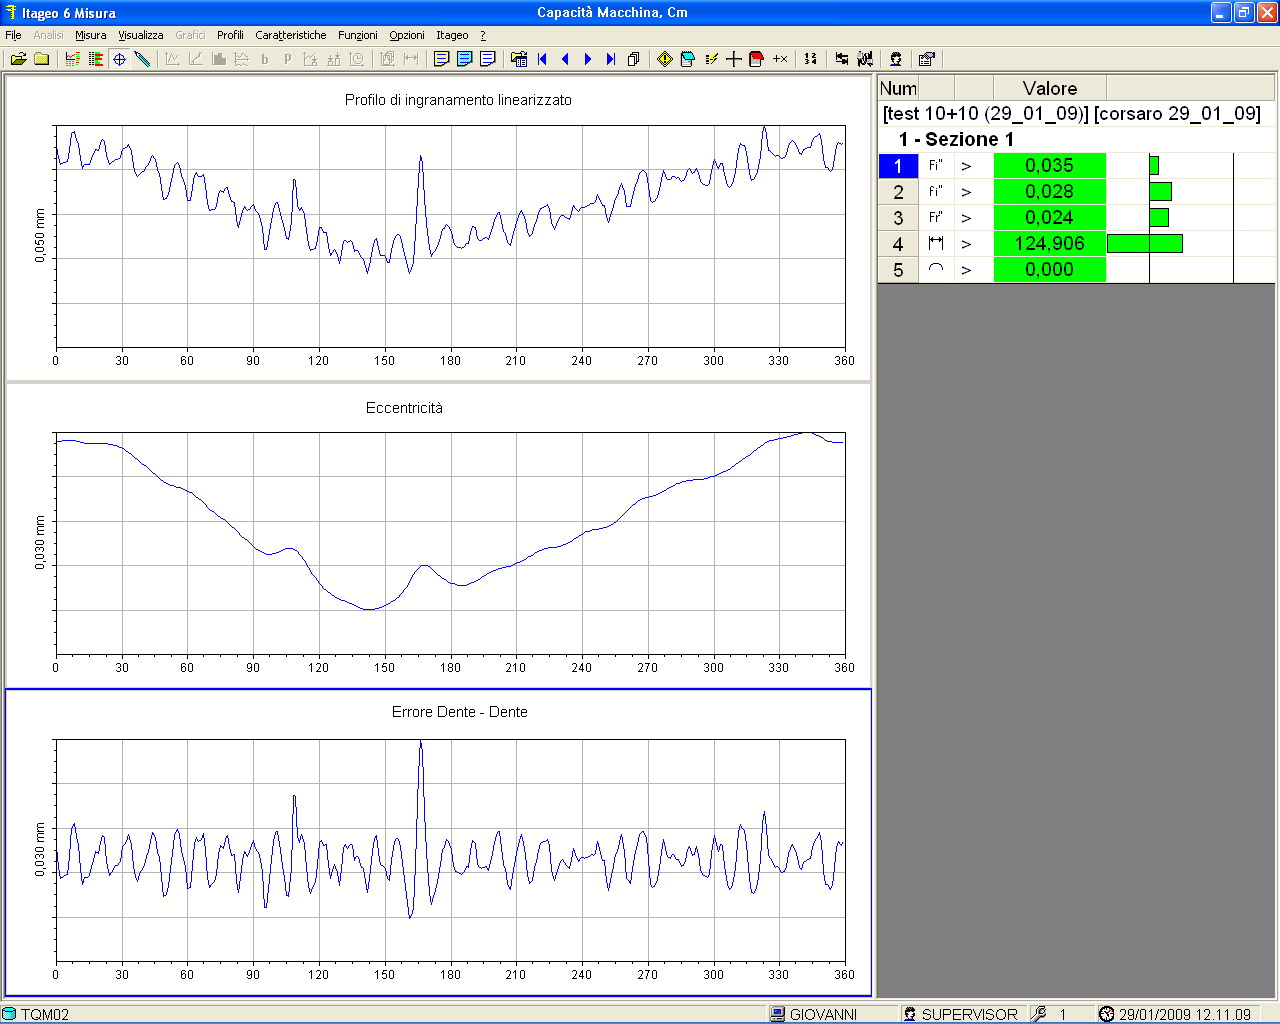 |
Some examples:
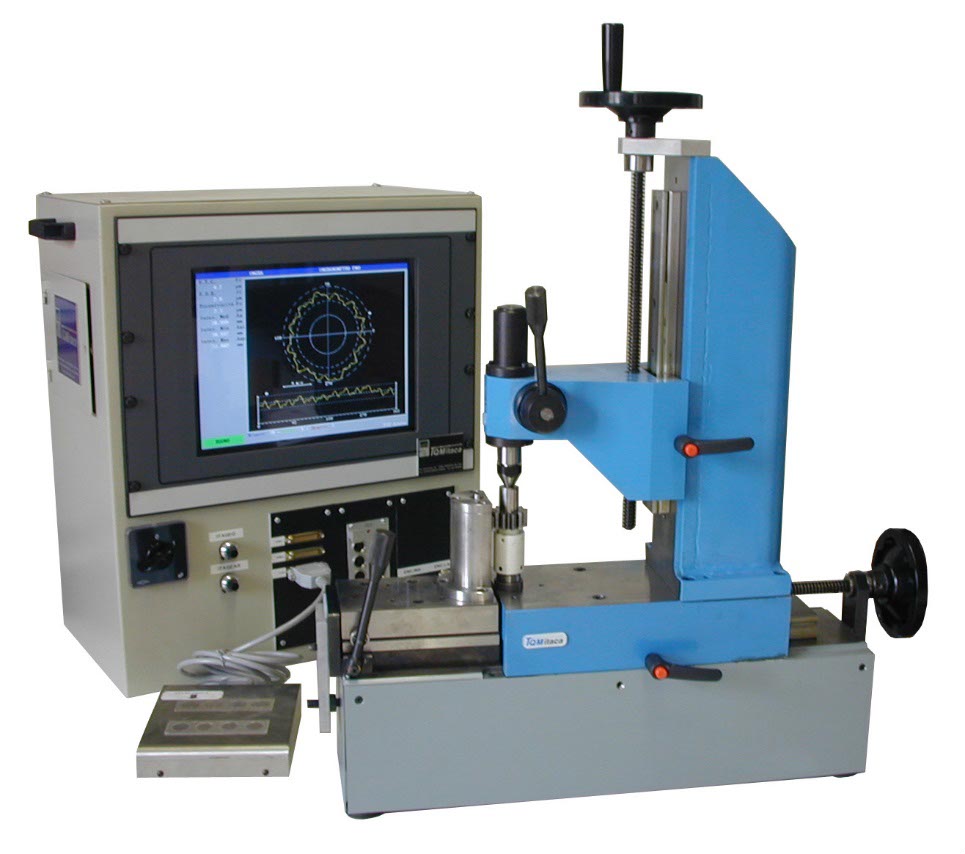 |
| Itagear 6 complete station, with gear inspection system fitted for the control of gears on shafts and industrial PC with portable rack. |
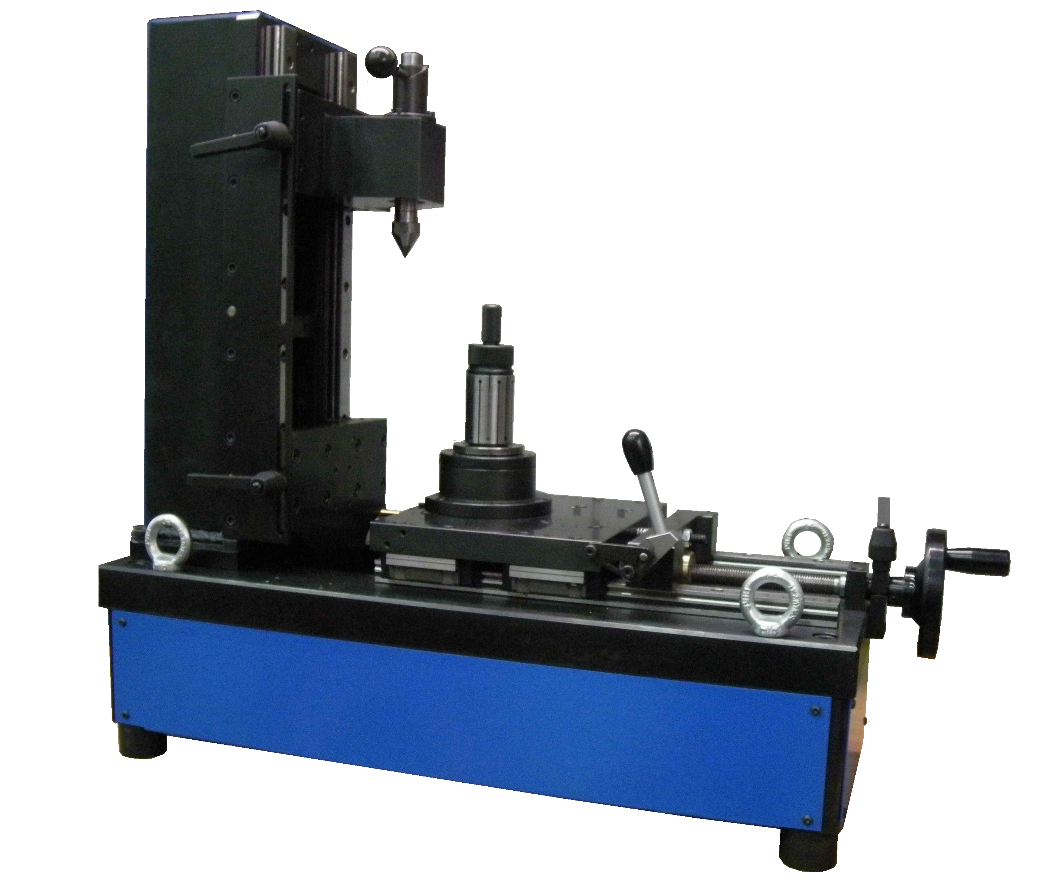 |
| Gear inspection system for the control of gears on a shaft. Expansion plier for the locking of the master. |
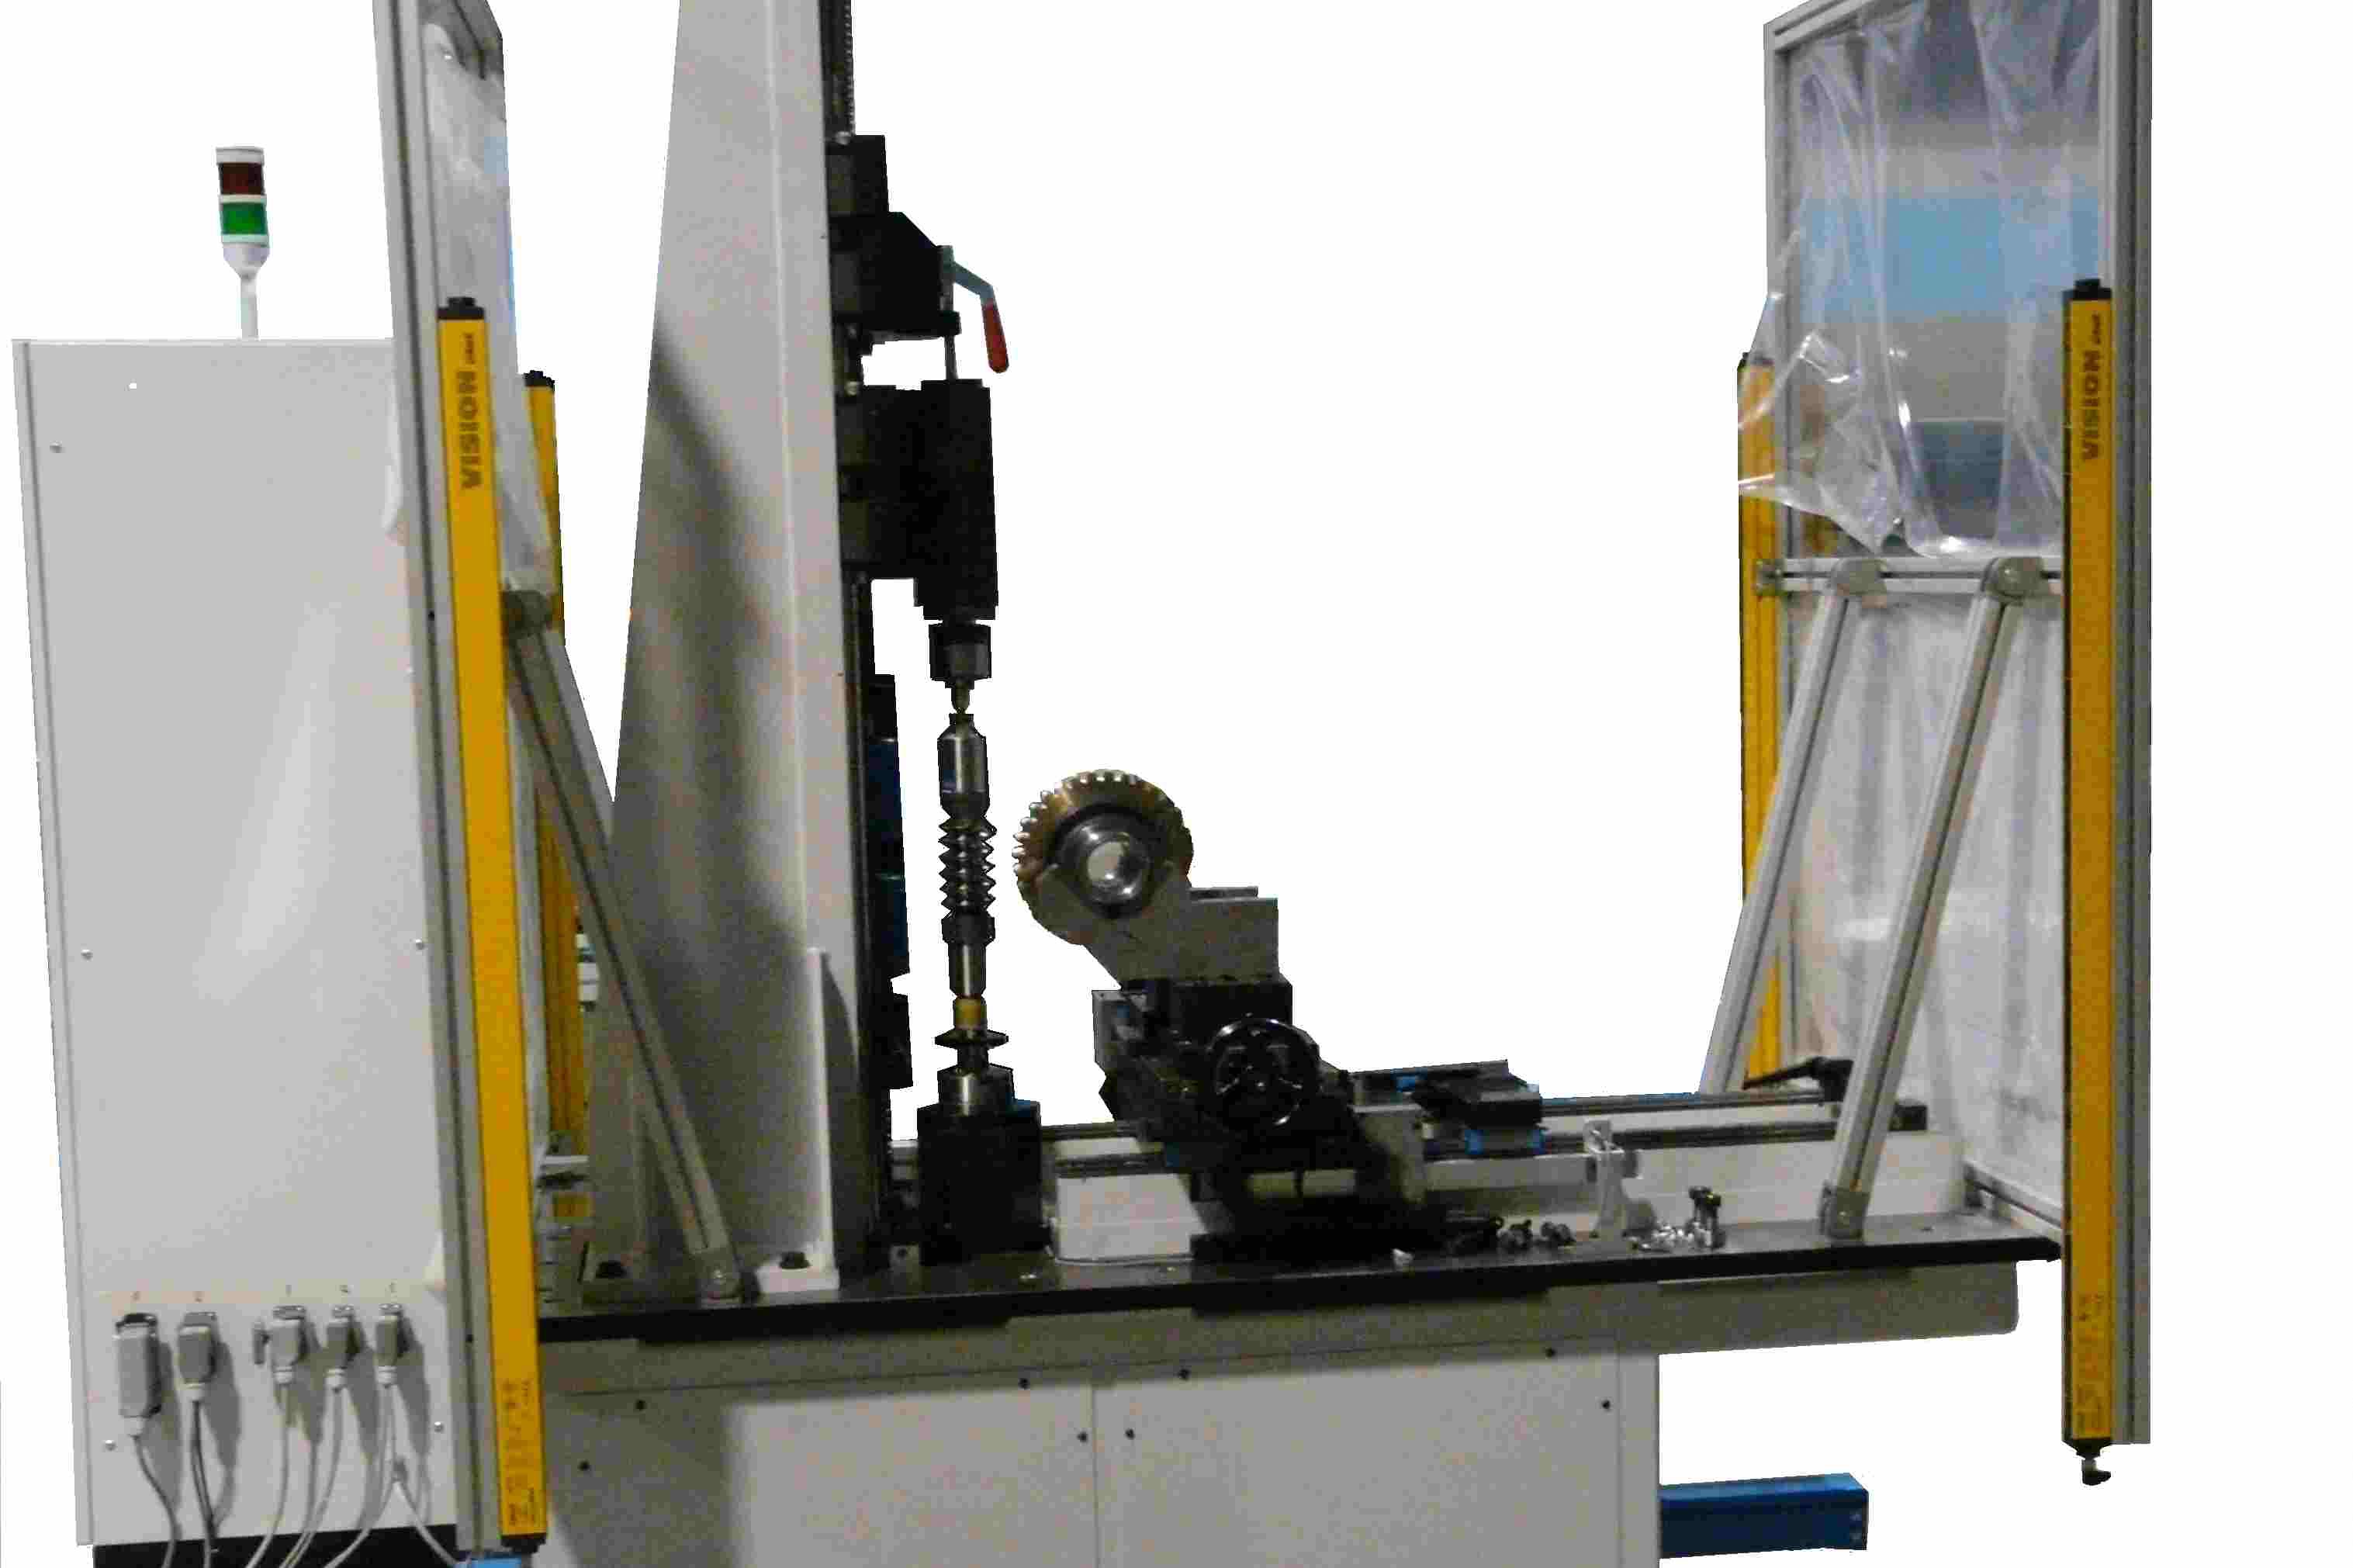 |
| Itagear 6 station for the control of wheels and worm screws of big dimensions. |
 |
|
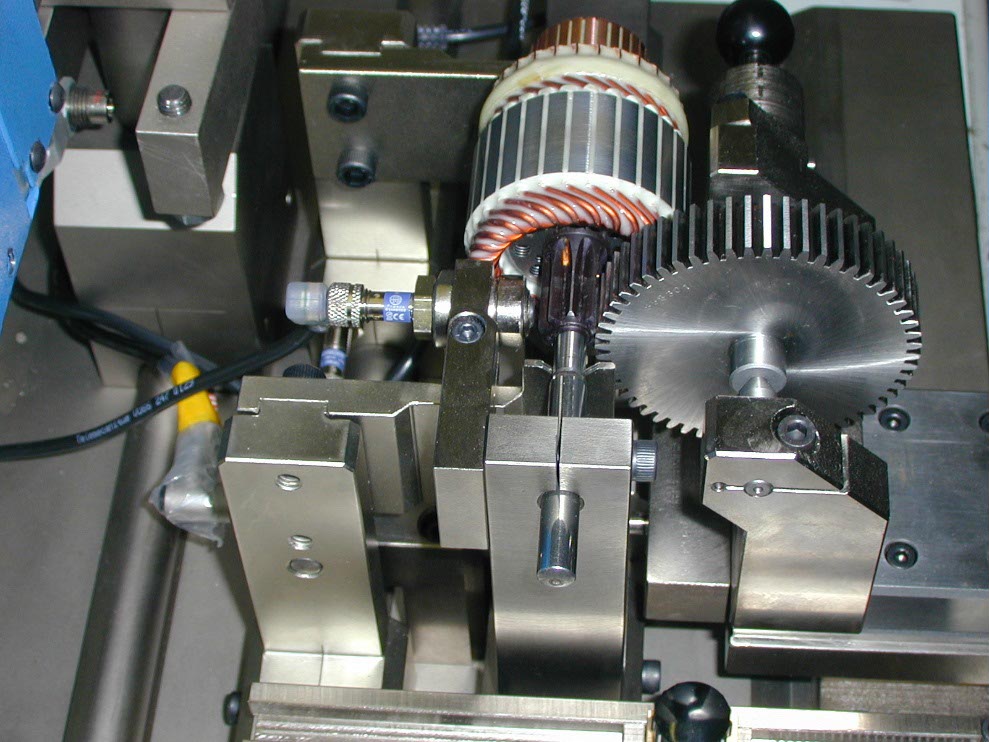
Itagear 6 station for the 100% control of machined gears on electric motors, with manual load/unload, movement forward of the sample wheel and automatic measuring cycle. The station is already fitted for the automatic load/unload. |


