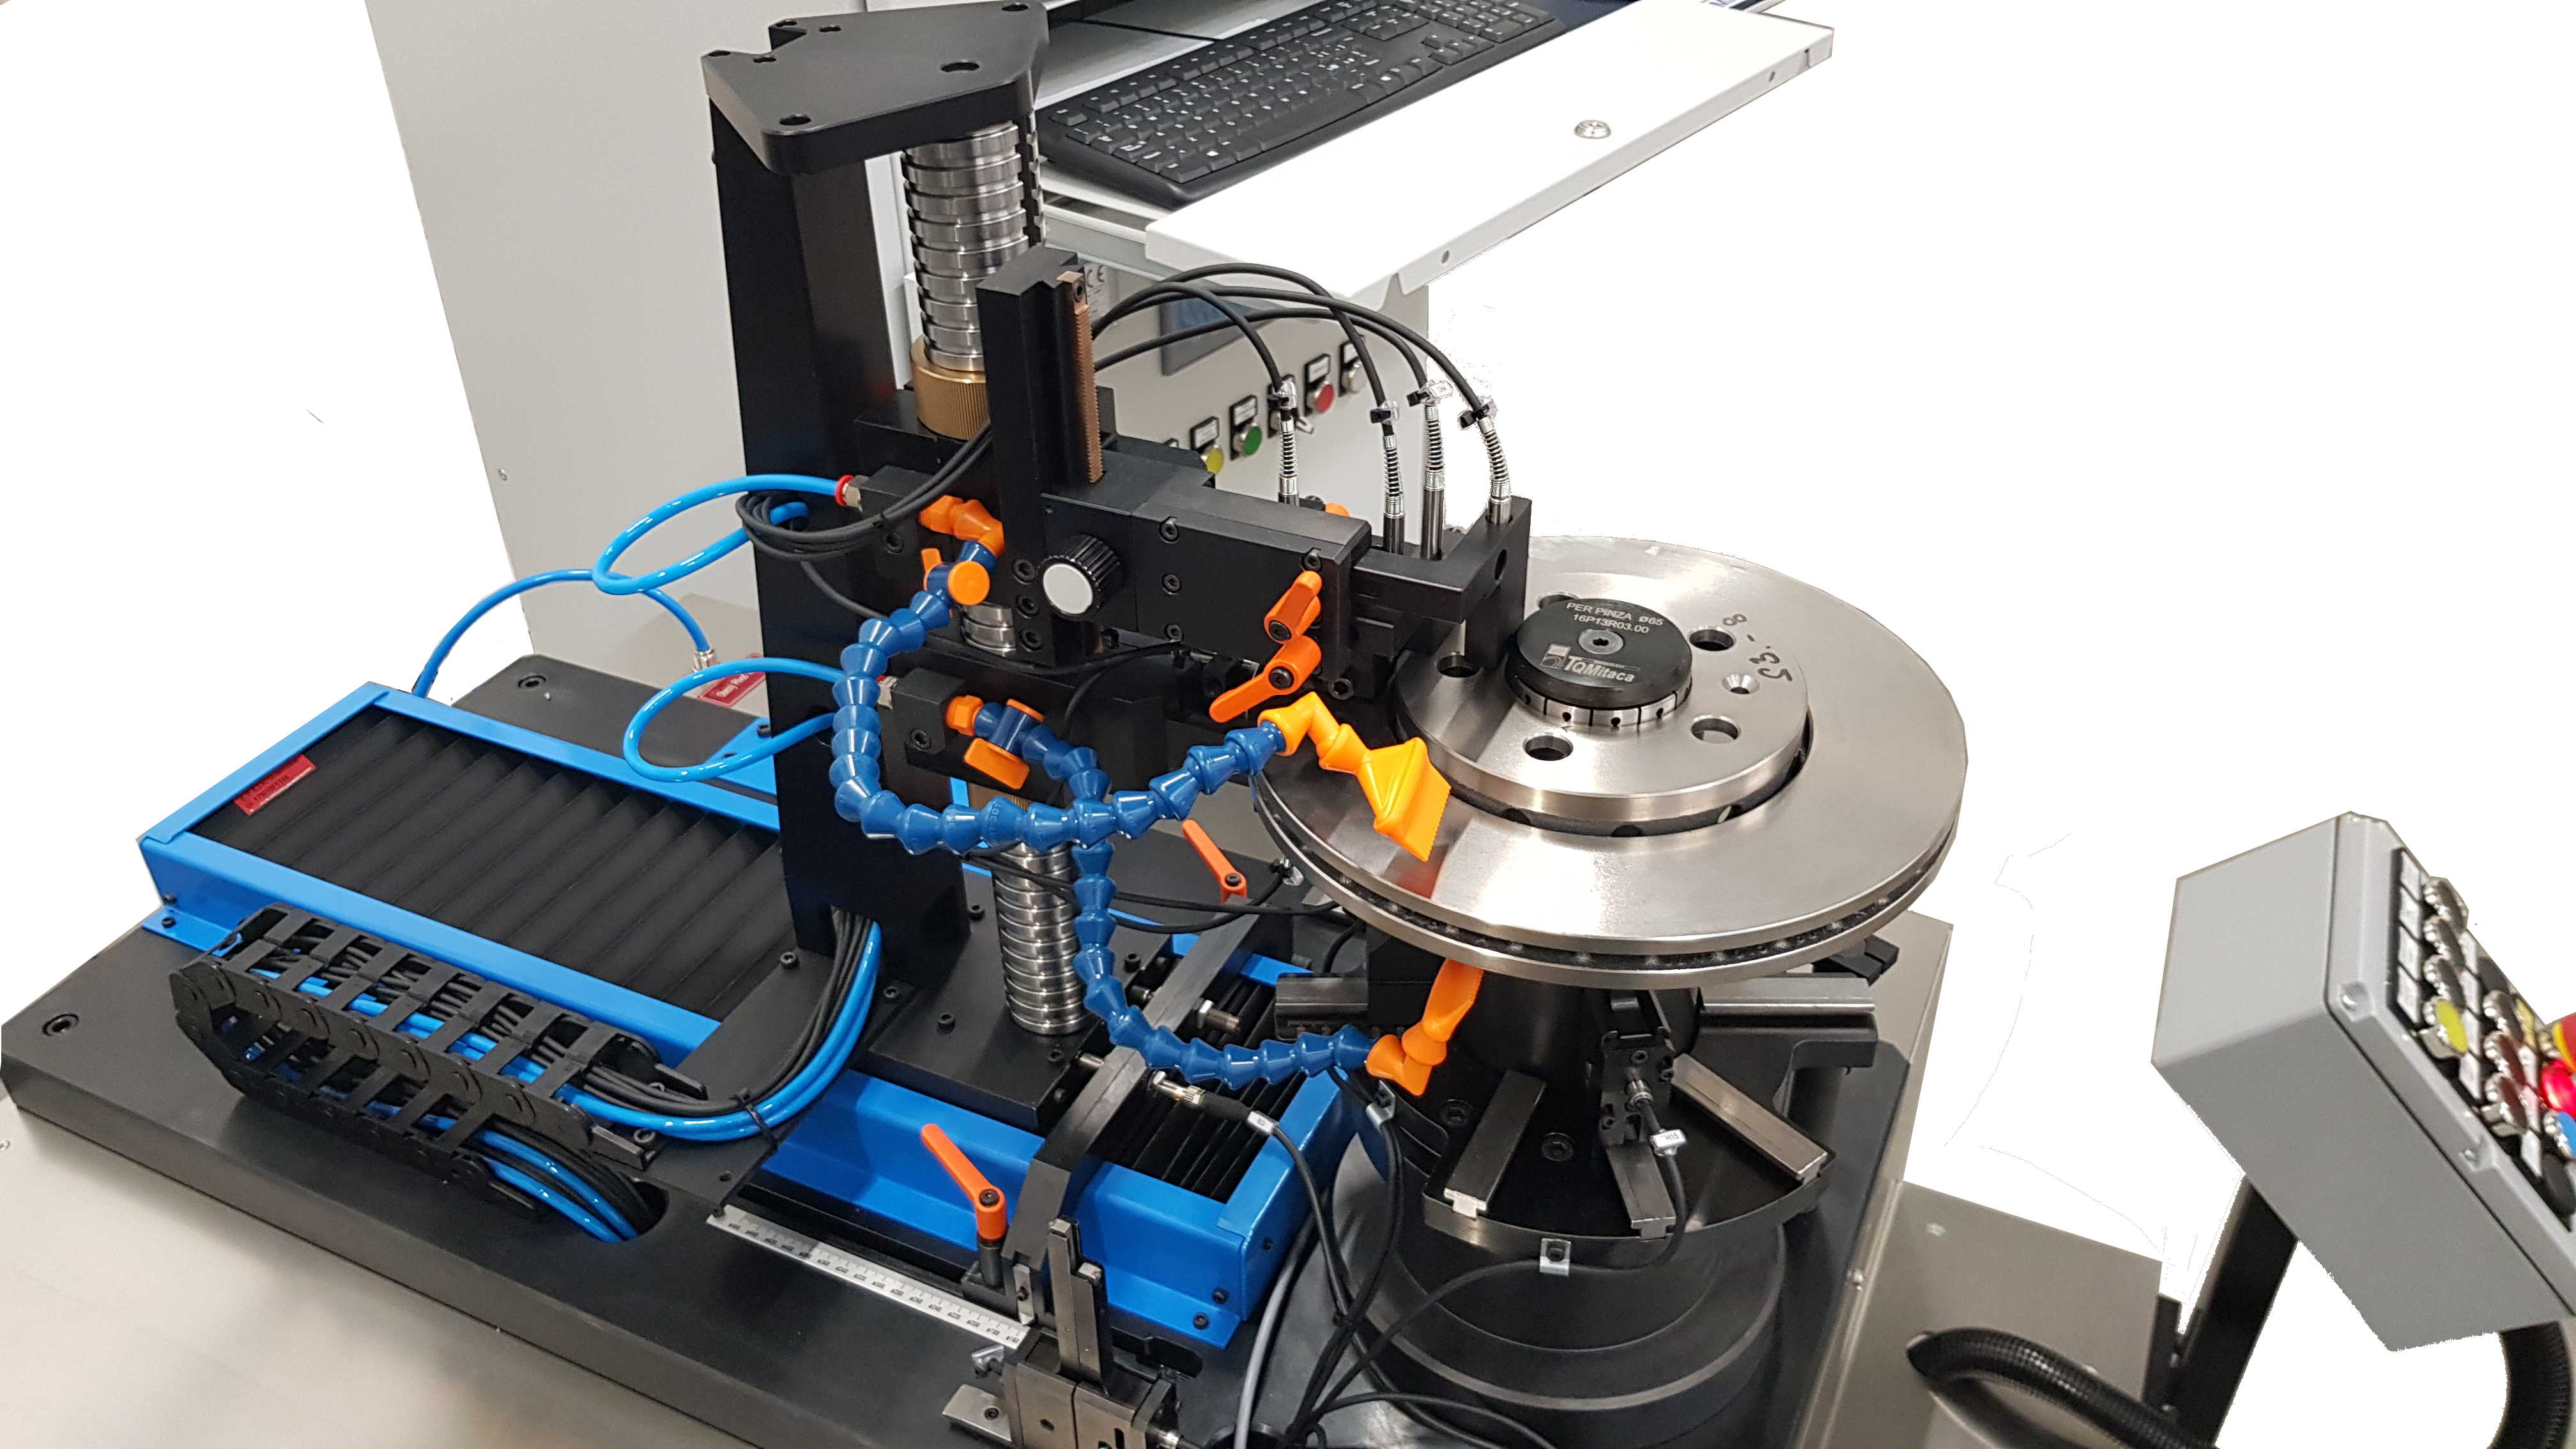
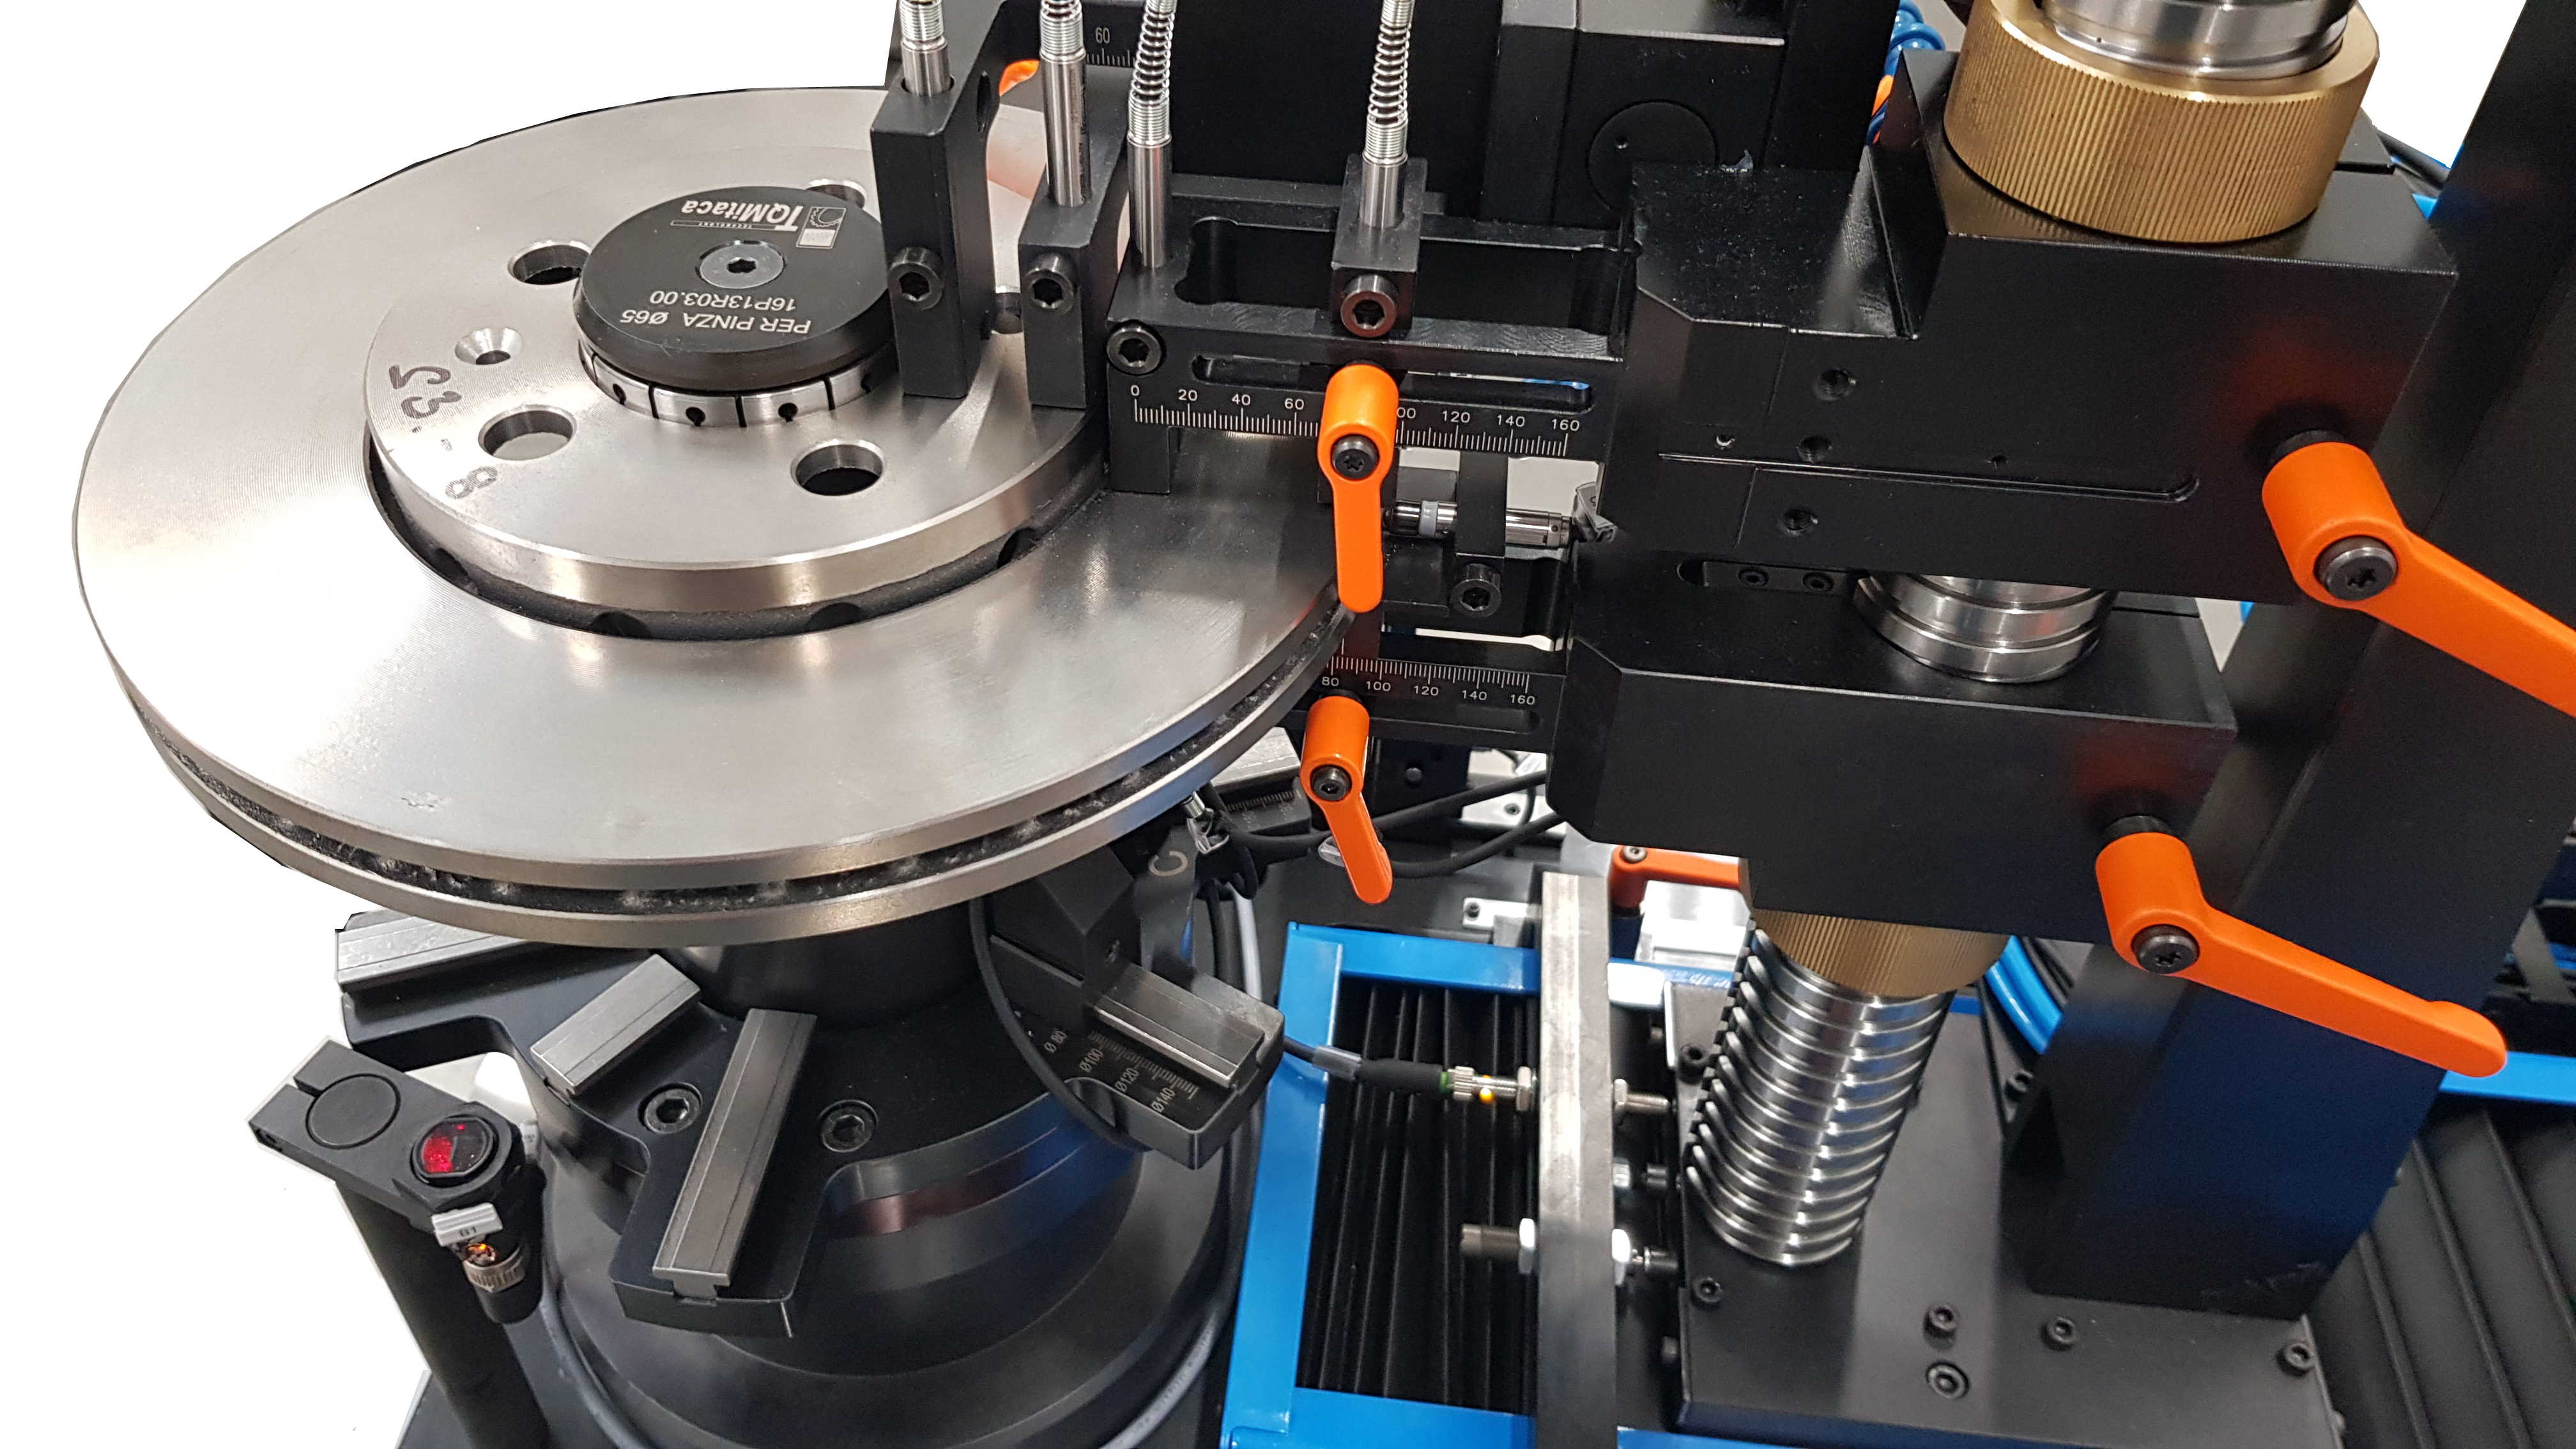
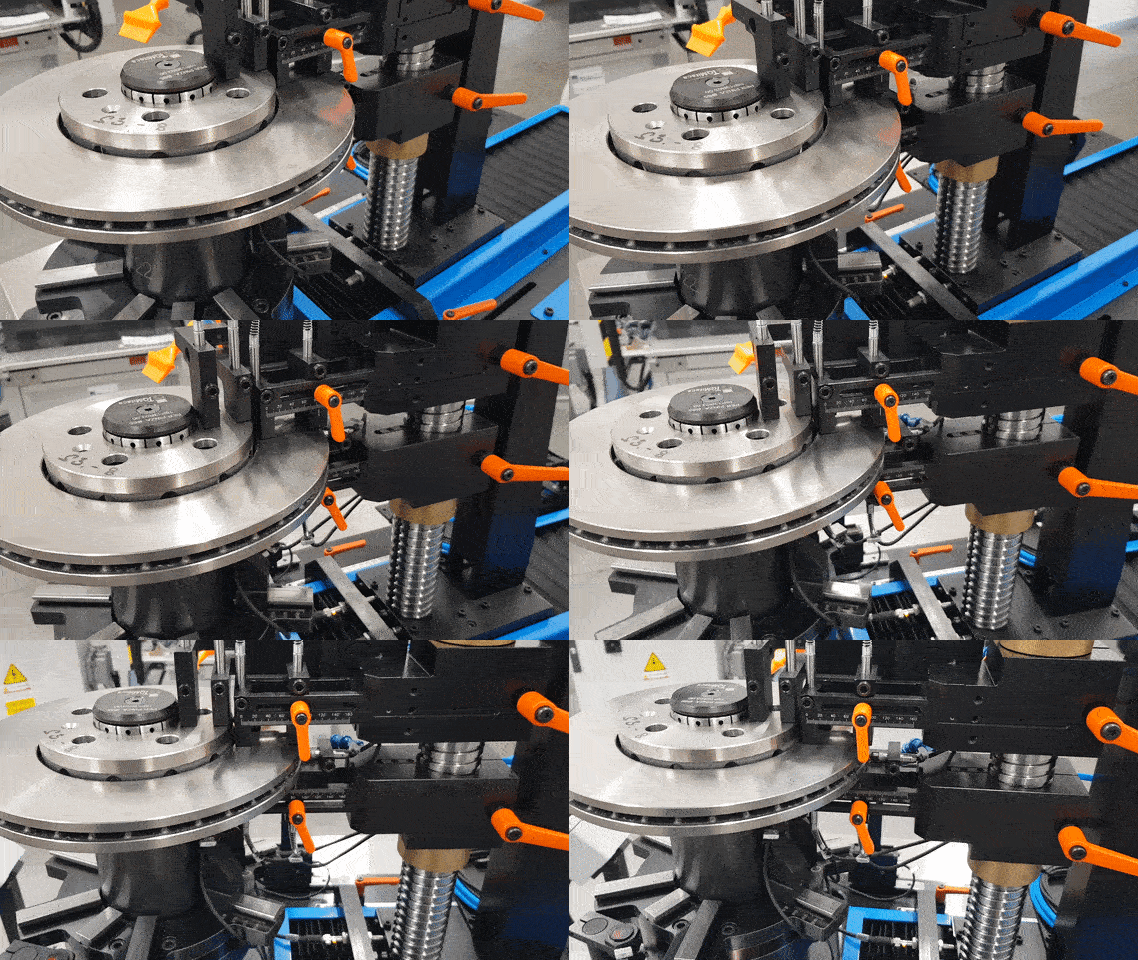
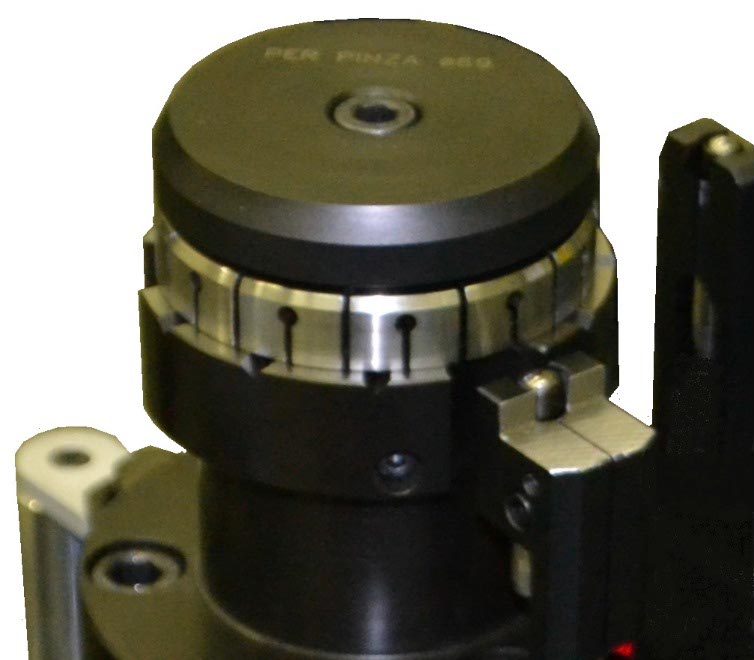
The disc is put on a precision mandrel. The locking on the mandrel is made by an expansion special plier which executes the centring, the locking of the brake disc and the measurement of the minimum diameter of the hole, which coincides to the effective diameter of the mounting (International patent PCT/IT2004/000361).
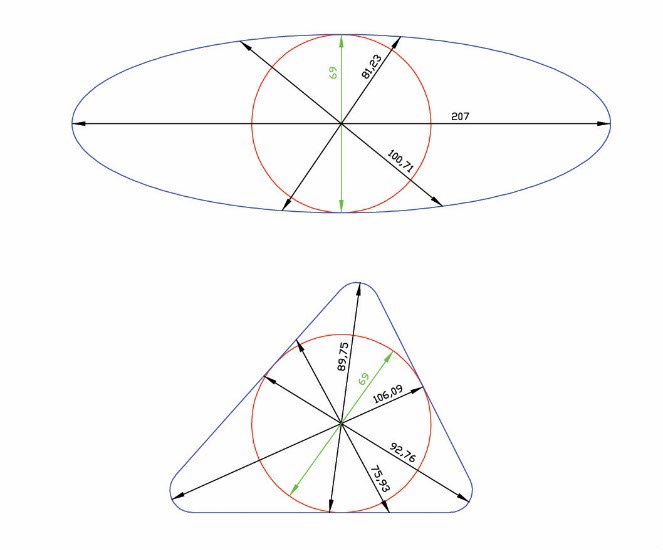
It is known that the measurement of a diameter with 2 counterposed probes (differential measurement) is strongly influenced by a form error. In case of oval form, or with an equal number of lobes, the measurement is correct. In case of triangular form, or with an odd number of lobes, the measurement is wrong.
Find below an example which explains the situation.
 |
 |
It’s clear that with an error due to triangular form, the diameter measured by 2 counterposed probes is higher that the effective minimum diameter, with the risk of mounting problems.
The adopted solution simulates the mounting condition, and the executed measurement is correct and independent from the errors due to the form of the hole.
An electronic probe on the support plane is used for the compensation of the errors of mandrel perpendicularity, which are not influential on the result of the run-out measurement of the braking surface. The other probe on the support plane is used for the construction of the plane, and for the measurement of the flatness and the concavity or convexity of the support plane.
The probes for the measurement of the braking surfaces and for the opposite plane are mounted on a slide with automatic feed managed by the PLC of the bench: they are all easily repositionable, so they guarantee a fast retooling of the measuring station. The slide is equipped with anti-collision security system.
